Finally, OMS Gateway is now GA! In this post, we will look at Installing OMS Gateway, and configuring OMS Agents to use the OMS Gateway.
Let’s get started with first looking at what OMS Gateway is, a bit of history, why was it built, and capabilities.
What is the OMS Gateway?
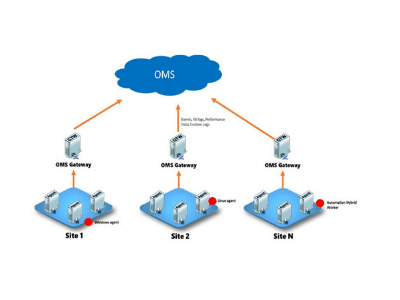
The OMS Gateway enables us to send data to a central server in our deployment, which has Internet access. It is an HTTP forward proxy that supports HTTP tunneling via the HTTP CONNECT command. The Gateway can handle up to 1000 OMS concurrent connected devices (If run on a 4 core CPU, 8 GB RAM Windows Server with a 1Gbps network connection).
In order to use the OMS Gateway, we need to install the OMS agent on the Gateway server.
In the featured image of this blog post above, you can see a logical deployment architecture with OMS Gateway,
History:
OMS Gateway was earlier known as OMS Log Analytics Forwarder. As OMS Log Analytics Forwarder it was made available as a Public Preview in Mar 2016. After that, it was renamed as OMS Gateway, and another Public Preview was released in May 2016. Again in Sep 2016, another Public Preview was released for OMS Gateway with SCOM support. Finally, OMS Gateway is GA now.
You can find reverse chronological Public Previews and GA links below:
- OMS Log Analytics Forwarder (Public Preview): Download
- OMS Gateway (Public Preview): Download
- OMS Gateway with SCOM support (Public Preview): Download
- OMS Gateway (GA): Download
Why OMS Gateway was built?
I can clearly see OMS Gateway to be very useful and Important for most Infrastructure deployments, whether on Azure IaaS and/or on-premises and especially beneficial for OMS itself from a wider adoption perspective.
It is a core requirement for the majority of Infrastructure deployments (especially Cloud-based) to not have most/all VMs connect directly to the Internet, and instead have any Internet-dependent components within VMs (like OMS agents) be facilitated through alternate mechanisms. This is Imperative from a Security Infrastructure Architecture perspective.
However, if we want to Integrate OMS based monitoring with these Infrastructure deployments, we need to have OMS agents Installed on all VMs to be monitored. There is no agentless solution from OMS “yet” (would have been a coup if there was one now or in the future plan, but this is where Azure Monitor comes in, and I will address it in a separate article shortly).
Now these OMS agents essentially need Internet connectivity to connect with the respective OMS Workspace and beam data over the Internet regularly. Most customers (especially enterprises) would not buy the idea of having the OMS agents Installed on their corporate devices connecting directly to the Internet, and beaming high-volume data directly to OMS Cloud, without any ability to secure, and measure/analyze the data volume or connectivity metrics.
This creates a deadlock conflict, where the security architecture/policies of the Infrastructure deployments (which are supreme priority always) cannot be compromised in any way, just to accommodate a new monitoring tool like OMS. In such conflict scenarios, OMS will always lose without doubt, and security architecture/policies/ compliance will always win.
Since the time OMS was released, a very strong demand surfaced (and has persisted) around the need for a native way to regulate connectivity and data-flow generated from the OMS agents (installed on Server and Client devices) to OMS on Cloud. It was not as if there were/are no existing other options to regulate the connectivity and data-flow(like an HTTP/S Proxy, or a Corp Firewall rule), but the need was more to have a native solution provided by Microsoft/OMS rather than relying on any alternative workaround methods. This is what prompted the OMS product group to come up with OMS Gateway. Furthermore, the OMS agent was anyways built to be HTTP Proxy friendly (with optional authentication need), which perfectly supports either scenario.
With OMS Gateway providing an acceptable solution to the above-mentioned Issues, we can say that the OMS outreach to enterprises will significantly increase.
Capabilities:
OMS Gateway provides the following capabilities:
- Authorizes only the OMS managed devices to be connected through the Gateway to the designated OMS Workspace
- Logs self-diagnostics through Event Log and Incorporate required performance counters to track the Gateway performance
- Embeds rules to the OMS endpoints
- Can be chained to an existing HTTP/S proxy to prevent direct connections to OMS on Cloud
Thoughts:
It was very surprising to see Microsoft not doing any formal announcements on OMS Gateway being made GA on 8th Dec 2016. They also do not specify anywhere on the minimum/recommended baseline Infrastructure requirements, or suggested unit for vertical scaling for increasing the number of concurrently connected devices. The only mention is about 4 Core CPU, 8GB RAM, 1 Gbps Network for 1000 concurrent connections, which is not sufficient enough Indication/guidance for considering a vertical or a horizontal HA scale. I also see no dedicated documentation around OMS Gateway yet. Hoping these concerns will be addressed in due time.
Installation and Configuration Walkthrough:
Let’s now look at Installing the OMS Gateway, and configuring OMS Agents to connect with OMS workspace through the OMS Gateway.
For this walkthrough, I used a Windows Server 2016 DC edition based Azure VM to Install/Configure the OMS Gateway, and an on-premises Windows 10 Pro Insider VM for Installing/Configuring the OMS agent.
.However, if you see in the OMS Gateway download notes, you won’t see any support mentioned for Windows Server 2016, and only OS supported are Windows 10/7/8.1, Windows Server 2008/R2, Windows Server 2012 R2. Nevertheless, I found it works perfectly fine on Windows Server 2016 (at least till now)
Step 1: Launch the OMS Gateway Installer on your Server VM with Internet connectivity
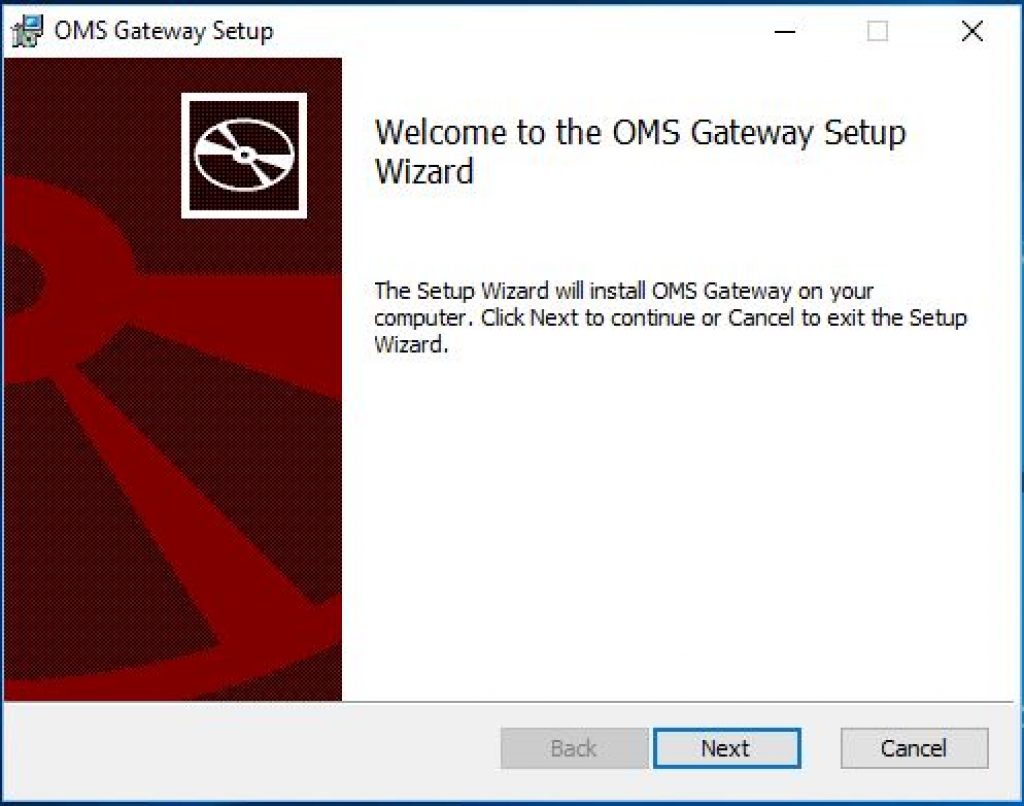
oms.2
Step 2: Accept the EULA, and click Next

omsg-3
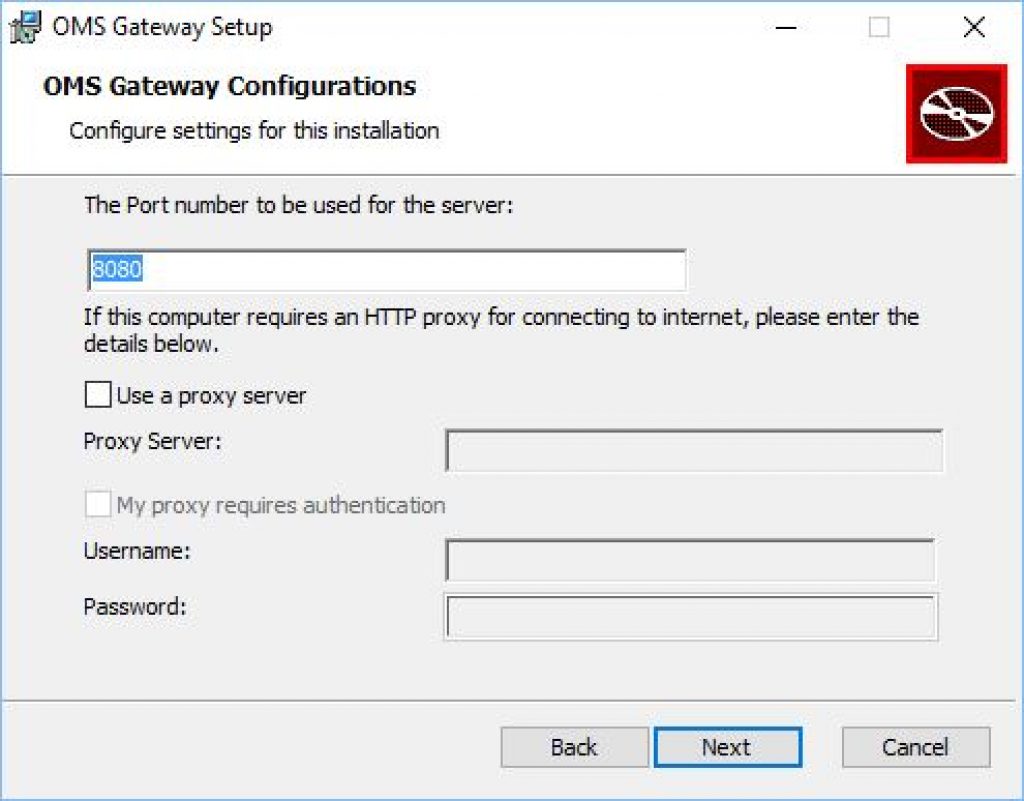
Step 3: This is where you specify the Port number to be used for OMS Gateway, which is 8080 by default. This step will automatically add the Windows firewall rule to allow communication. If your environment requires HTTP Proxy to connect to the Internet, you can do a Proxy chaining by providing the required Proxy details.
Step 4: Select Destination Folder to Install OMS Gateway in
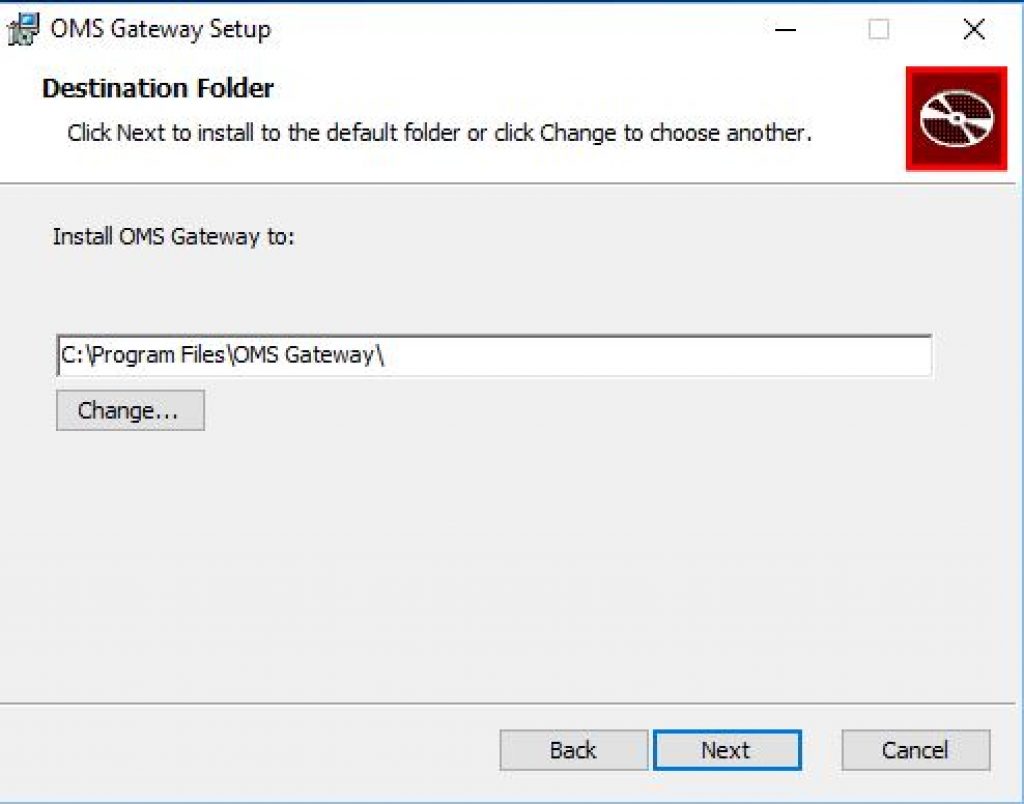
omsg-5
Step 5: Click Next to start Installation
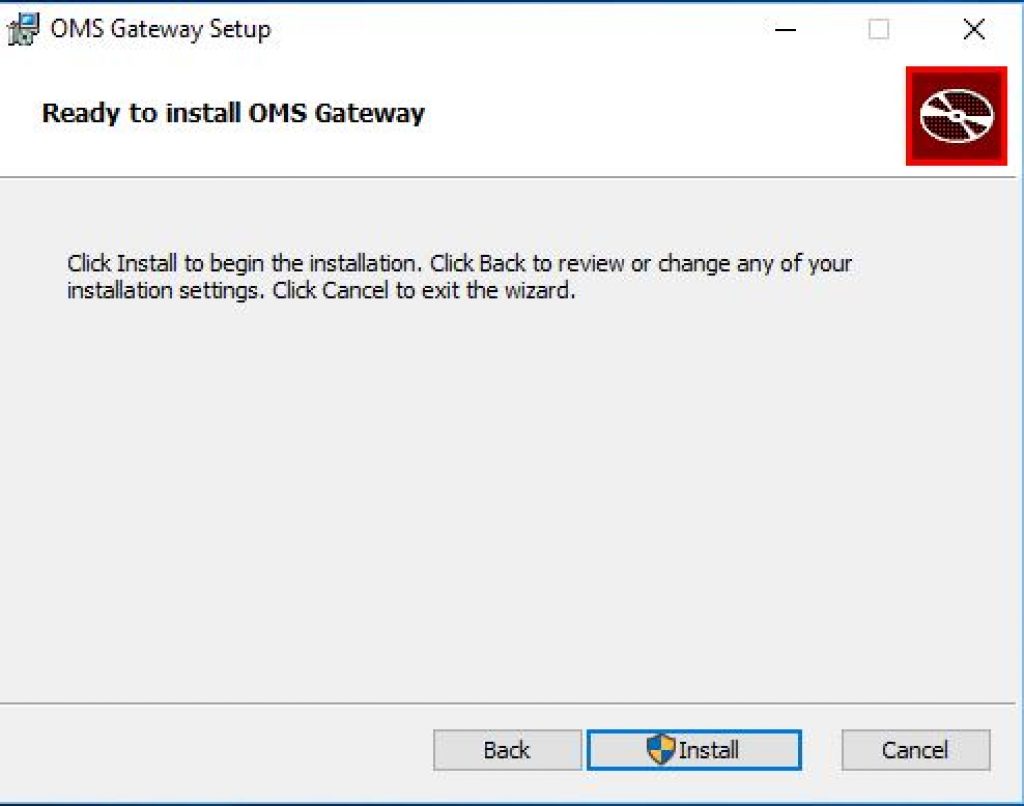
Step 6: Finish Installation
That’s it! Your OMS Gateway is Installed and ready to use.
Now let’s observe some changes made on the Server VM after Installing the OMS Gateway
#1: Open the Services MMC, and you will see the OMS Gateway service Installed and running, under Local System account as shown in the screenshot below:

omsg-8
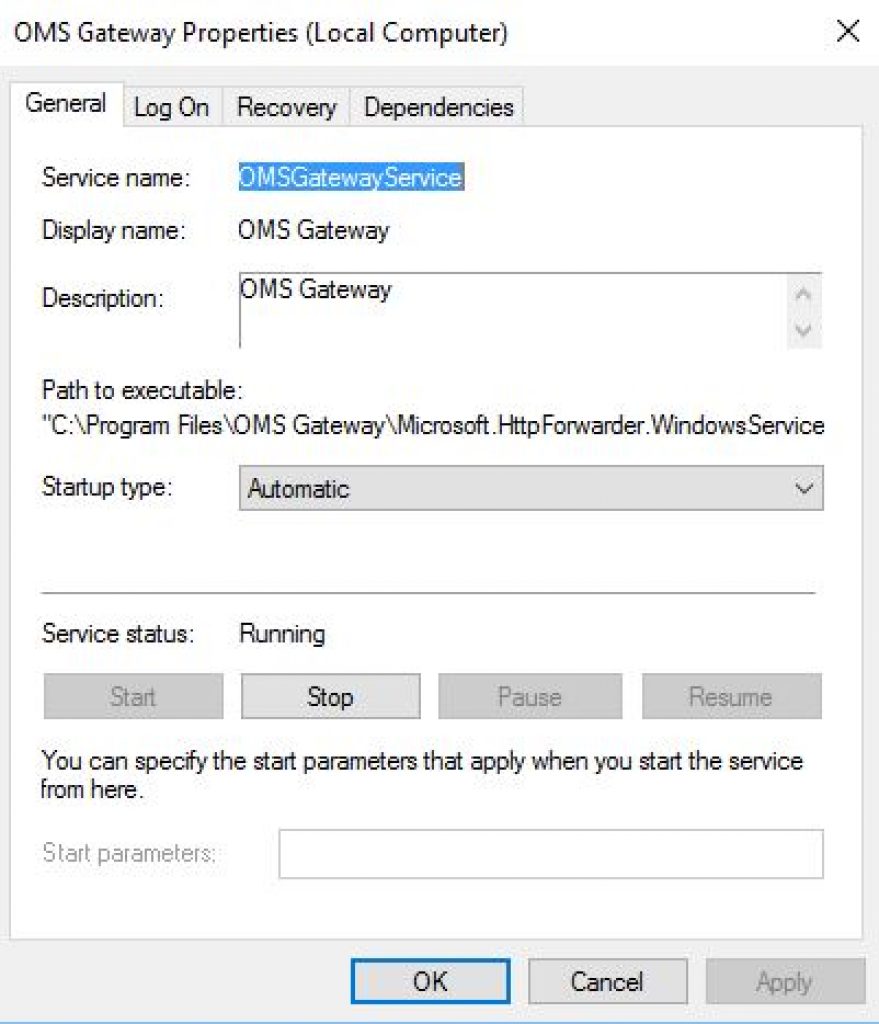
#2: In the screenshot below, you can see the OMS Gateway service properties:
#3: An OMS Gateway Log gets added to the Application and Services Log as shown in the screenshot below:
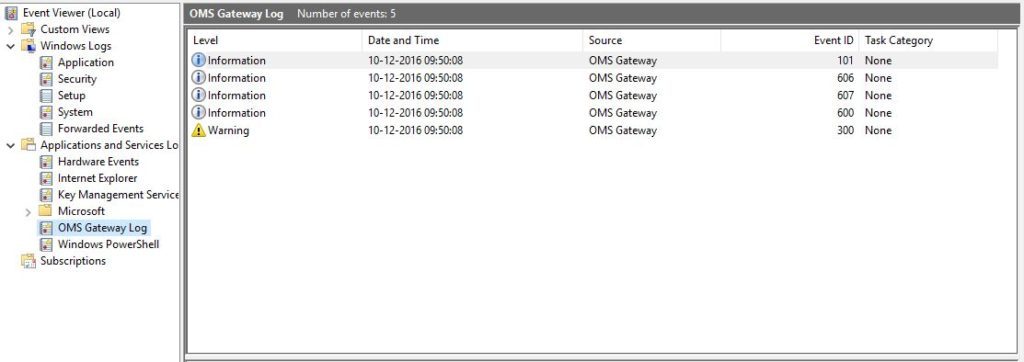
omsg-9.1
[Update #1: 11/12/2016 – Start]
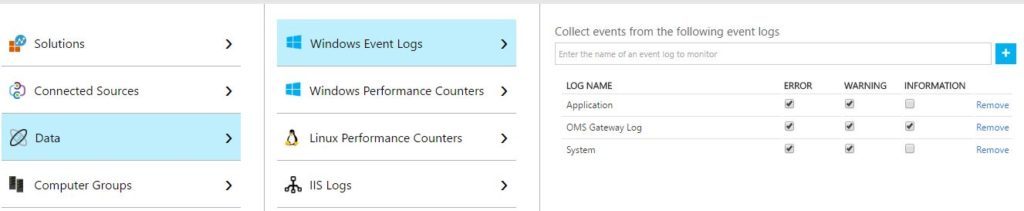
You can add the OMS Gateway Log to your OMS Workspace for monitoring the OMS Gateway events. You can see this in the screenshot below:
Note: You may not get an Intellisense kind of drop-down list to help you choose these OMS Gateway Log like it does for other native ones. Hence, you should type the exact Event Log name yourself.
You can then after sometime, fire a Log Analytics Query to see the events generated from the OMS Gateway Log as shown in the screenshot below:
Type=Event EventLog="OMS Gateway Log"
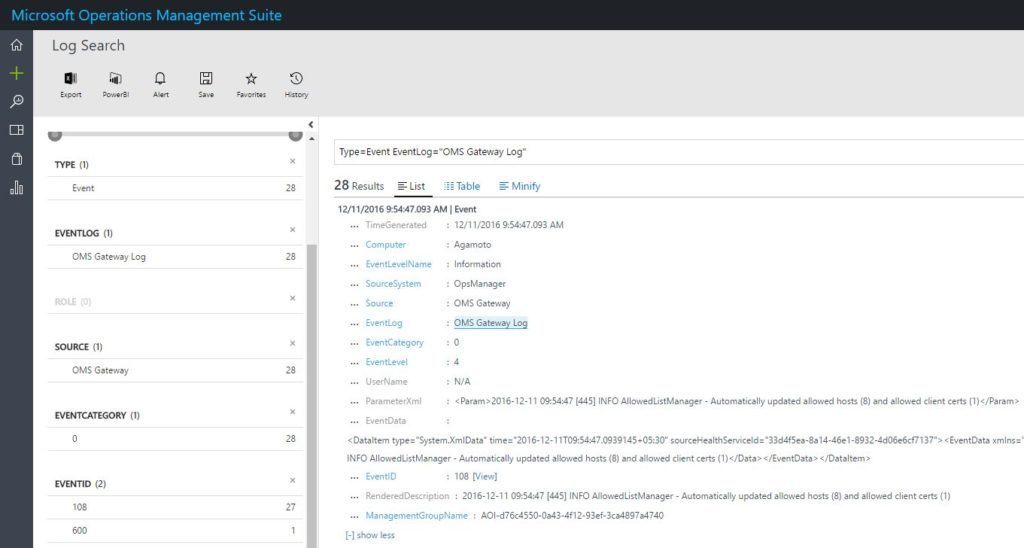
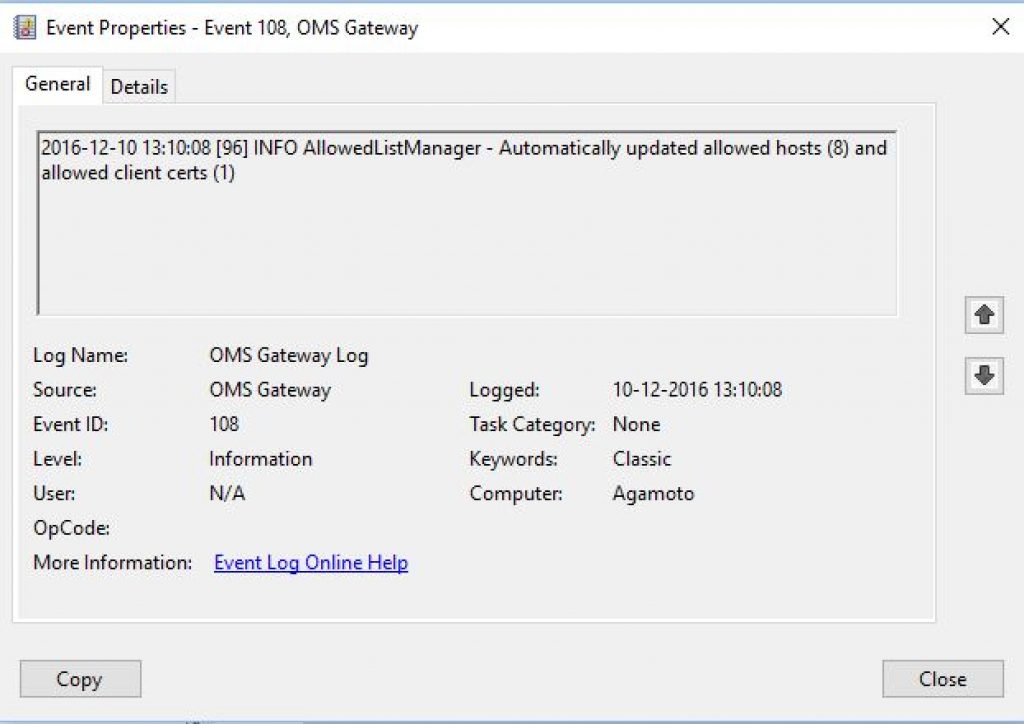
You will primarily see certain events appearing in the OMS Gateway Event Log, after it gets Installed.
Let’s have a look at some of the Important events, Including the error one.
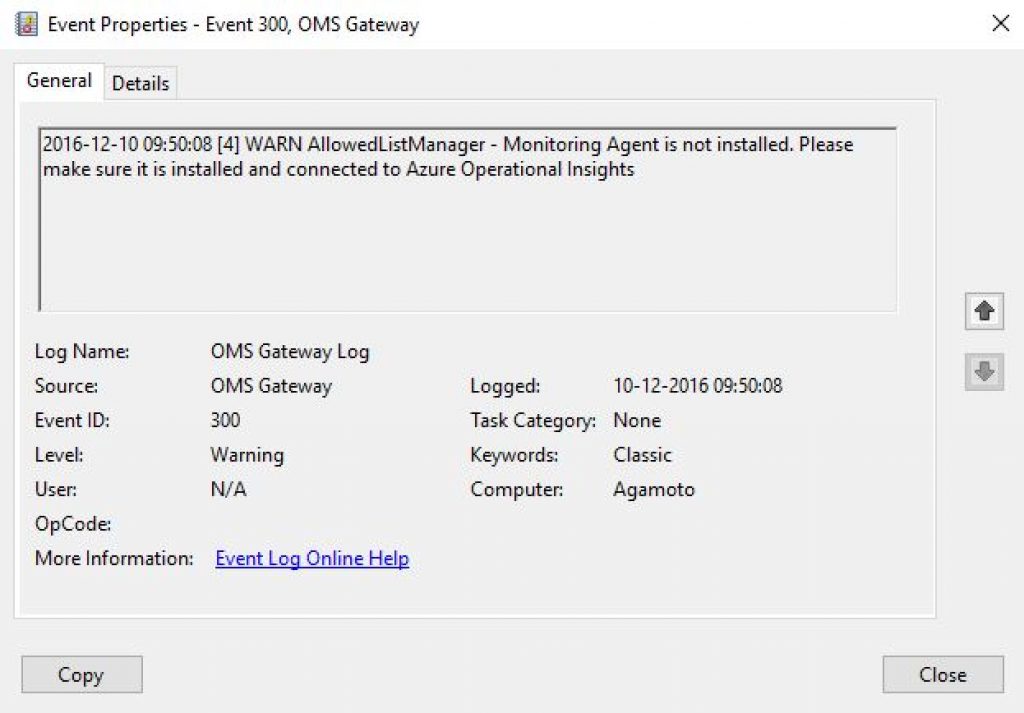
This event occurs Immediately after the OMS Gateway gets Installed, but the OMS agent is not installed yet.
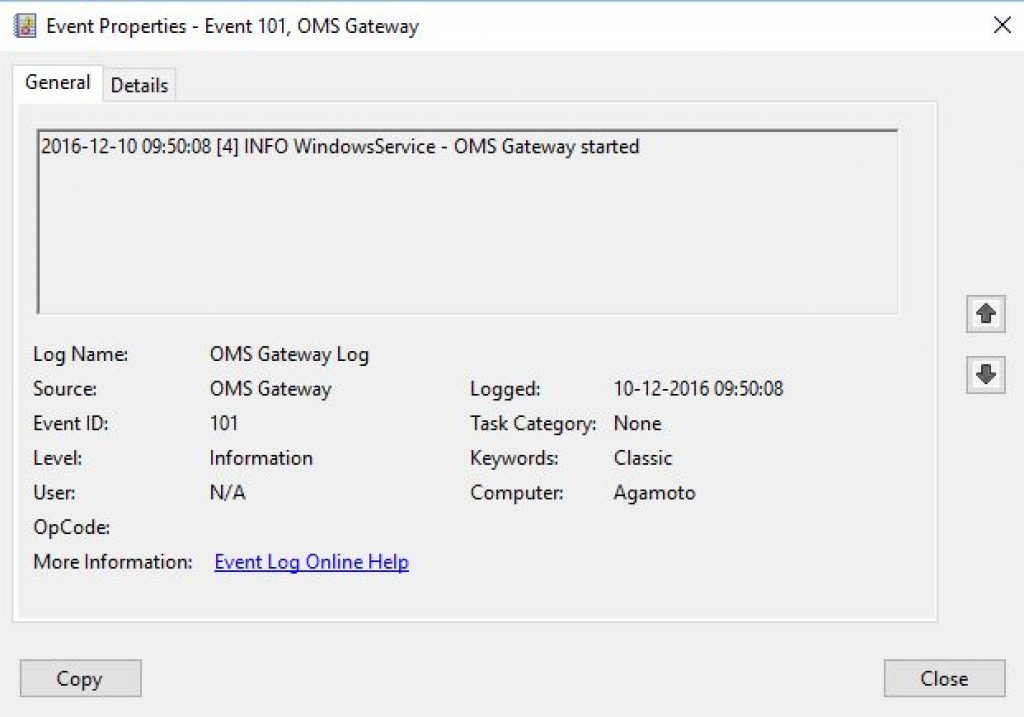
This event occurs when the OMS Gateway eventually gets the start
This event occurs after the OMS agent is installed.
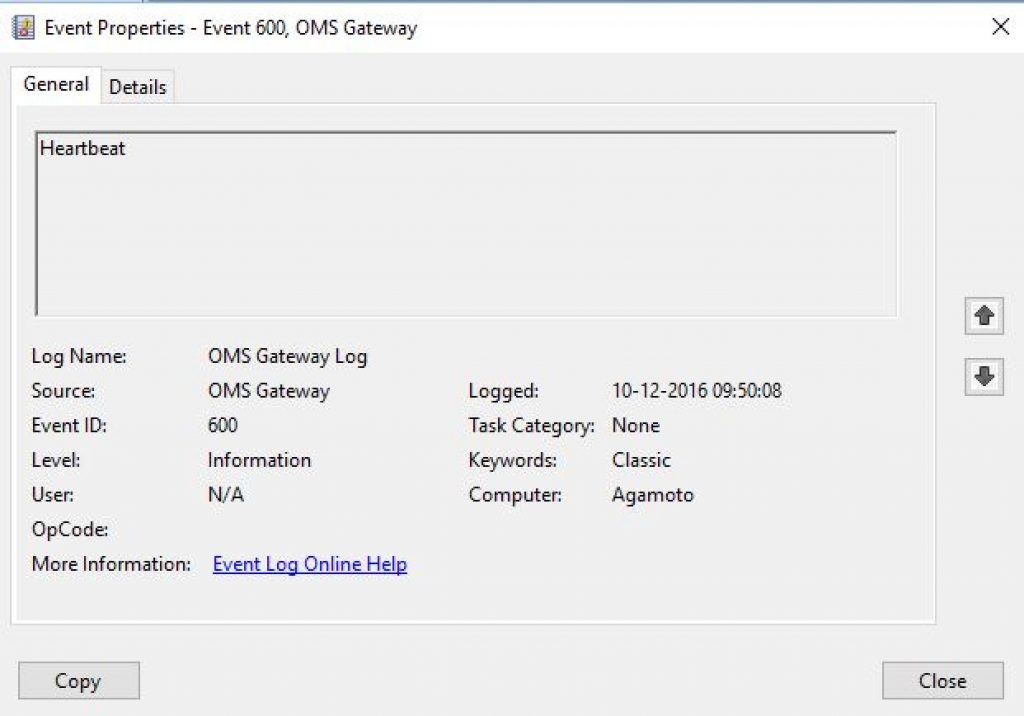
This event occurs once the OMS agent Heartbeat gets passed to the associated OMS workspace. This would appear in the Agent Health solution within your OMS Workspace.
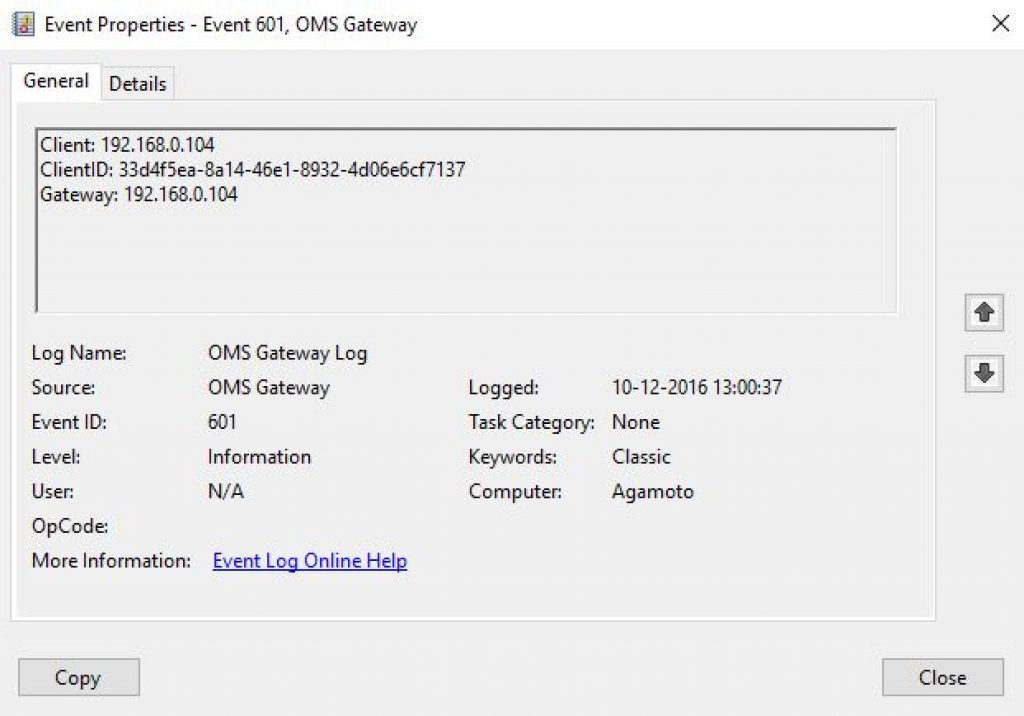
This event is an acknowledgment for the OMS agent connected through the OMS Gateway to the OMS Workspace
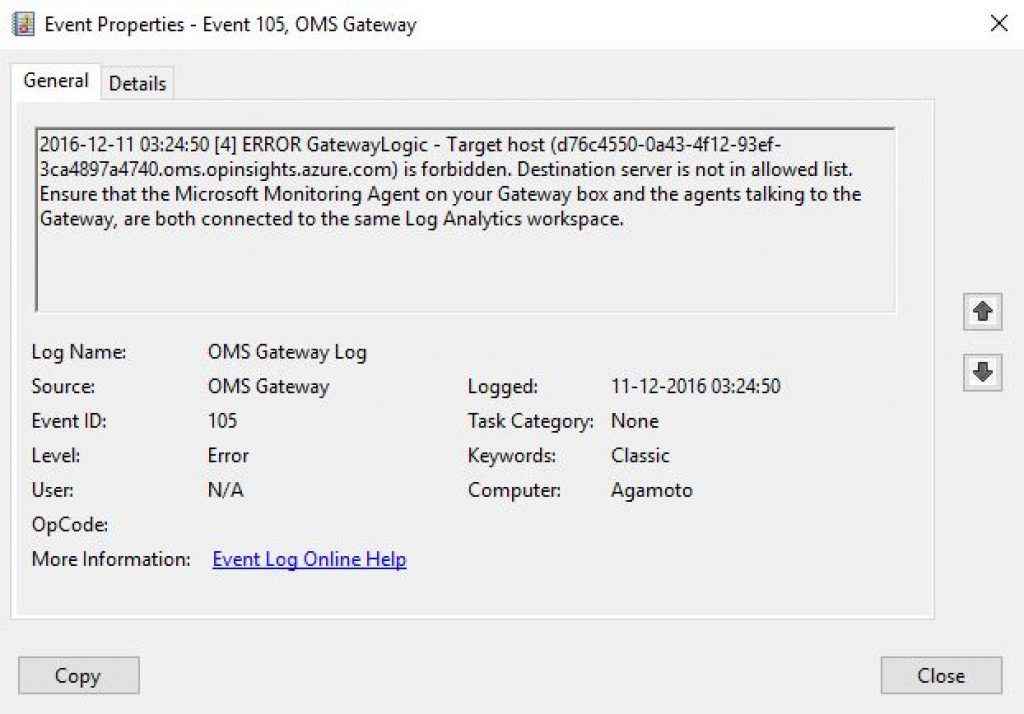
In case the OMS agent cannot connect to the OMS Workspace due to any Issues, you get a 105 error
[Update #1: 11/12/2016 – End]
#4: In the local VM file system, OMS Gateway is installed as shown in the screenshot below:

#5: Installing OMS Gateway also Installs related Performance Counters on the same machine as you can see in the screenshot below:
You can find these Performance Counters calibrated in couple .tmp files in the location “C:\Windows\INF\OMS Gateway\” on your machine. You can add these counters to your local PerfMon tool to monitor them. However, our primary Interest here would be to monitor them from our OMS Workspace so let’s see how to do that.
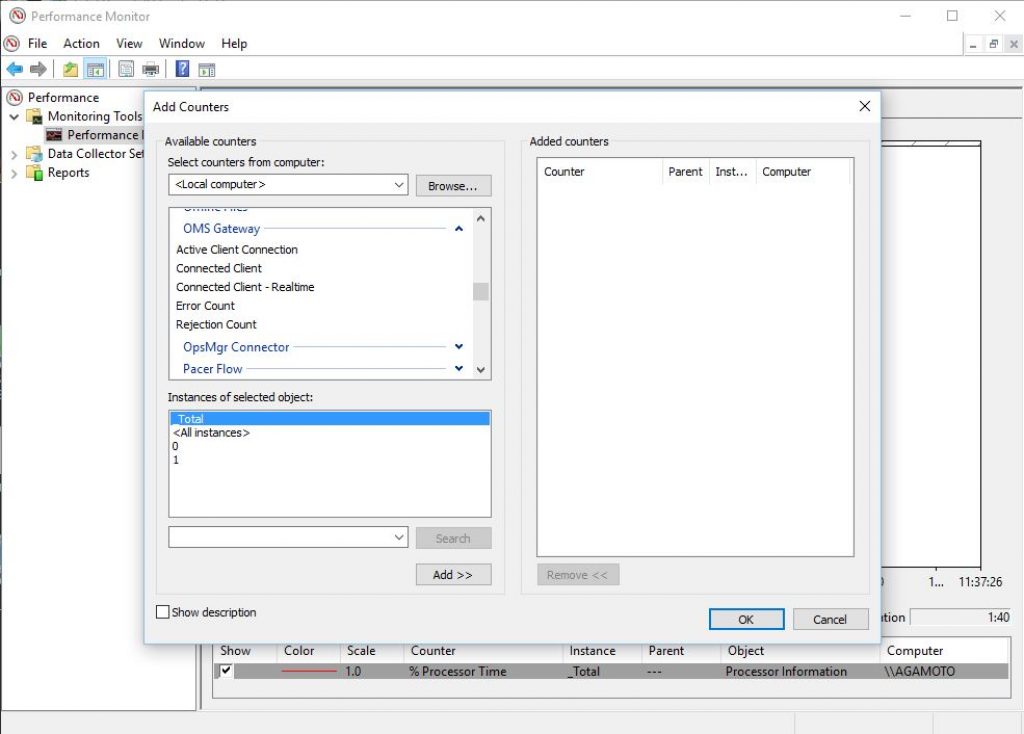
Within your OMS Workspace, you can add these OMS Gateway counters under Settings->Windows Performance Counters as shown in the screenshot below:
Note: You may not get an Intellisense kind of drop-down list to help you choose these OMS Gateway counters like it does for other native ones. Hence, you should type the exact counter name yourself.

omsga-perfmon-oms-1024×434
Once you have added the relevant OMS Gateway performance counters in your OMS Workspace, give some time for the data to be collected against these counters. Once there is sufficient data collected, you can fire a Log Analytics query like shown below:
Type=Perf Computer=<Your VM Name> ObjectName="OMS Gateway"
And you will get an output like shown in the screenshot below:
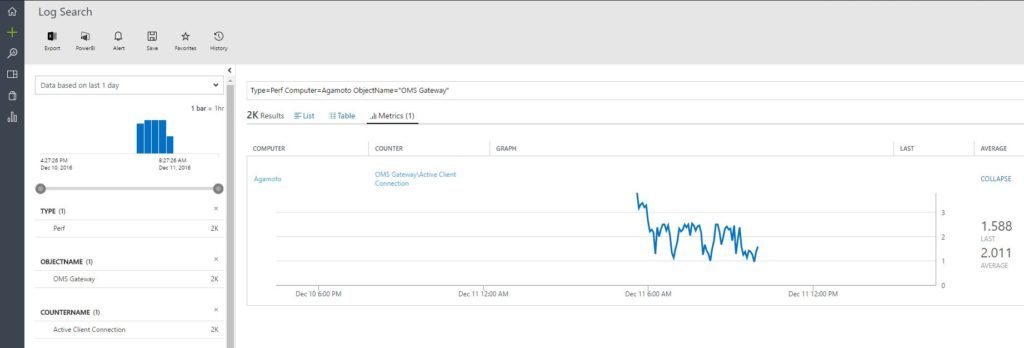
oms11
[Update #2: 11/12/2016 – End]
The next step would be to Install the OMS Agent on your OMS Gateway VM (If not installed already).
I am assuming that you already know how to do that so skipping steps for the same. However, while Installing the OMS agent on the OMS Gateway server, configure it at the same time to use the OMS Gateway as Unauthenticated Proxy following the steps given immediately below.

The final step would be to re-configure Individual OMS agents Installed on all your devices (Including the OMS Agent deployed on the OMS Gateway Server itself) for using the OMS Gateway as Proxy (without authentication).
For re-configuring, open MMA properties from Control Panel of the VM where OMS Agent is Installed, go to Proxy Settings tab, and enter the OMS Gateway Server address with port number as shown in the screenshot below:
Now you are all set up with the OMS agents leveraging OMS Gateway to communicate with the respective OMS Workspace(s).
[Update #2: 18/12/2016 – Start]
You can now also see the link to download OMS Gateway from within your OMS Workspace on Cloud (within Settings->Connected Sources) as shown in the screenshot below:
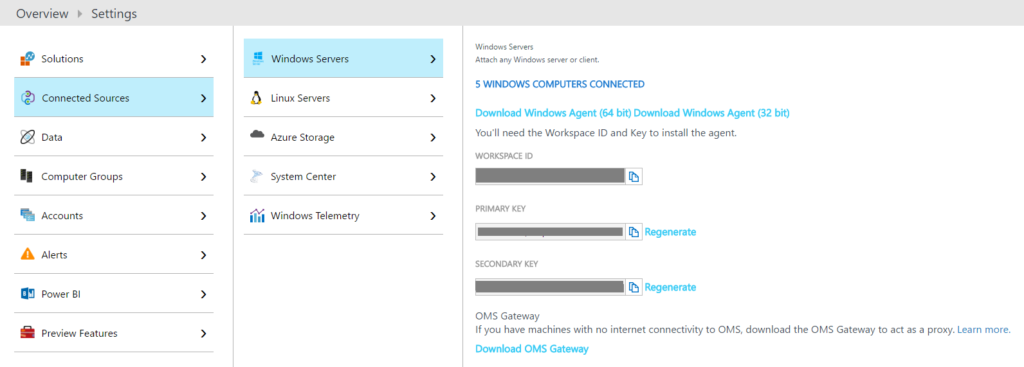
Update #2: 18/12/2016 – End]
Trivia: For those of you wondering on my VM name “Agamoto” in the screenshots. Yes, I did see Dr. Strange recently and was Influenced to name my VM so 🙂
Hope you found this post useful and Informative. If you have any questions/feedback, please do feel free to comment below.